By Chip Coker KD4C
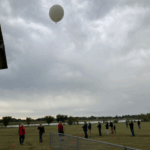
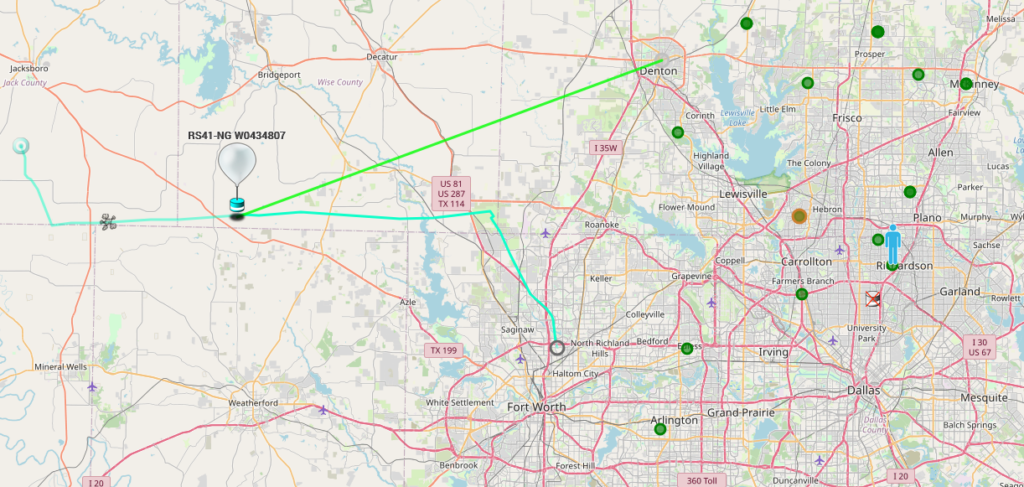
For just a few $, you can build your own RadioSonde Tracking Receiver setup and participate in tracking the twice-daily (0000 and 1200 UTC) launches of radiosondes by NOAA. These radiosondes transmit at around 403 MHz with only 20 mW and yet you can receive them from a hundred or so miles away (given your antenna).
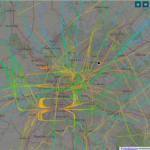
With this setup, you can receive your own packets and contribute to the sondehub tracking website (become your own “green dot” on the map): https://sondehub.org/
Receiver
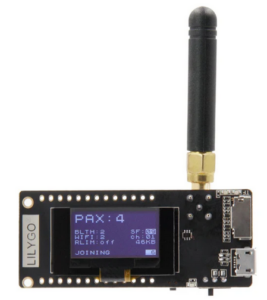
You will need the following LoRa32 433MHz receiver: https://www.lilygo.cc/products/lora3
These are available from multiple sources but we suggest ordering direct from LILYGO and waiting a few days for it to arrive. The price should be less than $20. Make sure you order the 433 Mhz version. There are a couple of versions that are listed but only the firmware is different and you won’t be using that anyway, so just order either one as long as it says 433 MHz.
It is powered by the onboard USBC connector, but you can also power it with a battery (like these handy Lithium power packs from Amazon – they plug right in to the connector on the back!).
You can buy or make a separate case or 3D Print your own – it all depends on how you plan to mount the receiver.
Firmware
After you have your receiver, you will want to replace the firmware that came on it with the custom radiosonde decoder firmware available from here: https://github.com/dl9rdz/rdz_ttgo_sonde
Follow the instructions on that github page on how to flash the firmware to the device. Should be pretty easy. You’ll need a working USBC Data Cable. We recommend the ESP32 Download Tool for flashing if you don’t want to use the command line.
Configuration
Once you have flashed the LoRa32, you will need to configure it. When it boots for the first time, it will create its’ own WiFi network (SSID RDZsonde, password RDZsonde). You will need to join that network with a computer to access the firmware. Once you have joined, go to http://192.168.4.1/ in the browser and you should see the configuration pages.
You will (at a minimum) need to change the following (be sure to click “save” after each change)
- On the “QRG” tab, change channel 1 to “404.800 and “RS41” to receive the FortWorthDallas Launchsite
- On the “WiFi” tab, add your WiFi SSID and password. You can add more than one and the receiver will attempt to join in that order.
- On the “Config” tab, under “General”, make sure Wifi Mode is “3” and add your Lat/Long and Altitude (in Meters)
- On the “Config” tab, under “SondeHub”, add your Callsign and Antenna info, and turn SondeHub Reporting to “1” (if you want to upload your received packets to Sondehub.org)
That’s pretty much it! Go to the “Control” Tab and reboot the receiver. When it reboots, it should join your WiFi network. You can look at the display to find the IP address, and just go to that address in your browser to see the data (on the Data tab). Now you wait to receive packets from the sonde!
You can also check the map on the sondehub.org website to see your new “green dot” indicating your receiver (the dots usually show up after packets are received or within 24 hours).
Antenna
You can use the little stub that came with the LoRa32, but you won’t get great performance inside (did we mention that the sonde only transmits 20 mW?). You really need to place the sonde in a high location or connect an external antenna, or preferably both! You can place the receiver in a waterproof box with a directly connected antenna, put it in your attic with a nearby antenna, or place an antenna outside and connect to LoRa32 with a (very) short feedline (more than 10 feet is probably too much).
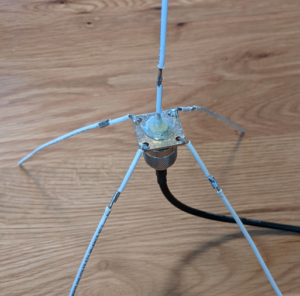
For antennas, we recommend a very simple 1/4 wave vertical (see pic.) It’s cheap, has good performance on the horizon (which is important) and easy to build. You can use this calculator: https://m0ukd.com/calculators/quarter-wave-ground-plane-antenna-calculator/
You’ll want to place this antenna some place high (outside or an attic) with a good view of the horizon.
Here’s a simple video:
Balloon Chase and Recovery
If you’re going to chase the balloon with the intention of recovery, please do the following:
- Announce your intentions to chase by enabling chase mode on Sondehub. this prevents disappointment from other chasers
- Turn off the transmitter when you find it. The power button is not exactly under the label, but you can find it. it’s a litte to the left. Verify it’s off by listening on 404.8MHz with an HT or your LilyGo
- Mark it as found on SondeHub to prevent even further disappointment with other chasers
Doing these things will make you a good balloon-hunting citizen!

